Showing posts with label Dt post. Show all posts

Wednesday, 24 July 2019

Stamping Cards

Hello friends!

Good morning...

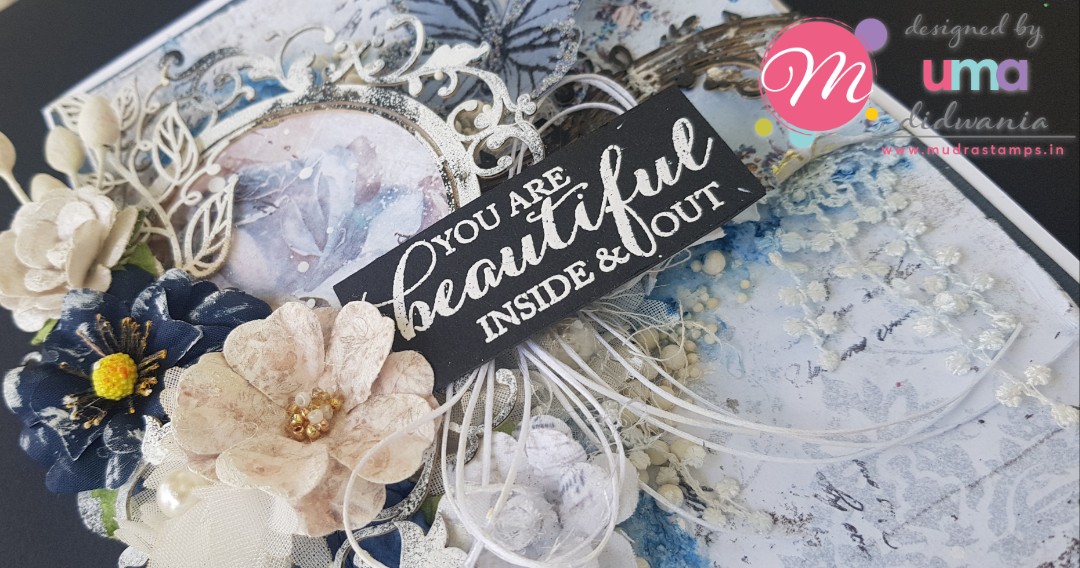
Today I am on Mudra Craft Stamps blog, with some of my cards which I create with their new release.  As you all know I am a flower artist, I generally not working on stamping and stenciling cards. But this time  I tried to make some simple cards using stencil and stamp. I love each and every thing in this release.  Did you check their july collection? Not yet, then here is the link
NEW RELEASE
I share instructions of my cards on Mudra's blog, also name of ink which I used to create these. You can check my post here.


Hope you like it..
Thanks for stopping by
Hugs
Uma

Sunday, 24 February 2019

All time Card

Hello Friends!!
Today I have a card to share with you which I created for Mudracraftstamp Blog using their amazingly beautiful chipzeb and stamps.  To check my post and step by step instructions click here


Thanks for stopping by
Hope you like it
Regards
Uma

Friday, 1 February 2019

Altered Flower Vase

Hello Everyone!

I am here on the very first day of the month with our very first challenge of "Mixed Media Academy". It's a mixed media challenge with "Anything Goes" theme. Yes, that means you can create anything using mixed media techniques and stand for a chance to win exciting prize from aur fabulous sponsor. It can be card, tag, layout or any altered art. You can check all the details of challenge here. As a inspirational post, I altered a flower vase. 

Here is the list of products I used:

Heavy White Gesso (finnabair)
Platinum Crackle Paste (finnabair)
Prima Flowers
Air Dry Clay (Dadarkar Arts)
Prima re-design molds
Mini Art Stones (finnabair)
Medium Art Stones (finnabair)
Gold Glass Glitter (finnabair)
Mini micro pearls 
Chipzeb (Mudra Craft Stamps)
White Cord
Script Stencil 
Opal Magic Wax - Vintage silk
Opal Magic Wax - Aged Brass
Artisan Powder -  Mesdames Merlot


Thanks for stopping by
Hugs
Uma

Thursday, 10 January 2019

Love: Mixed Media Layout

Hey Everyone,

Good Morning......

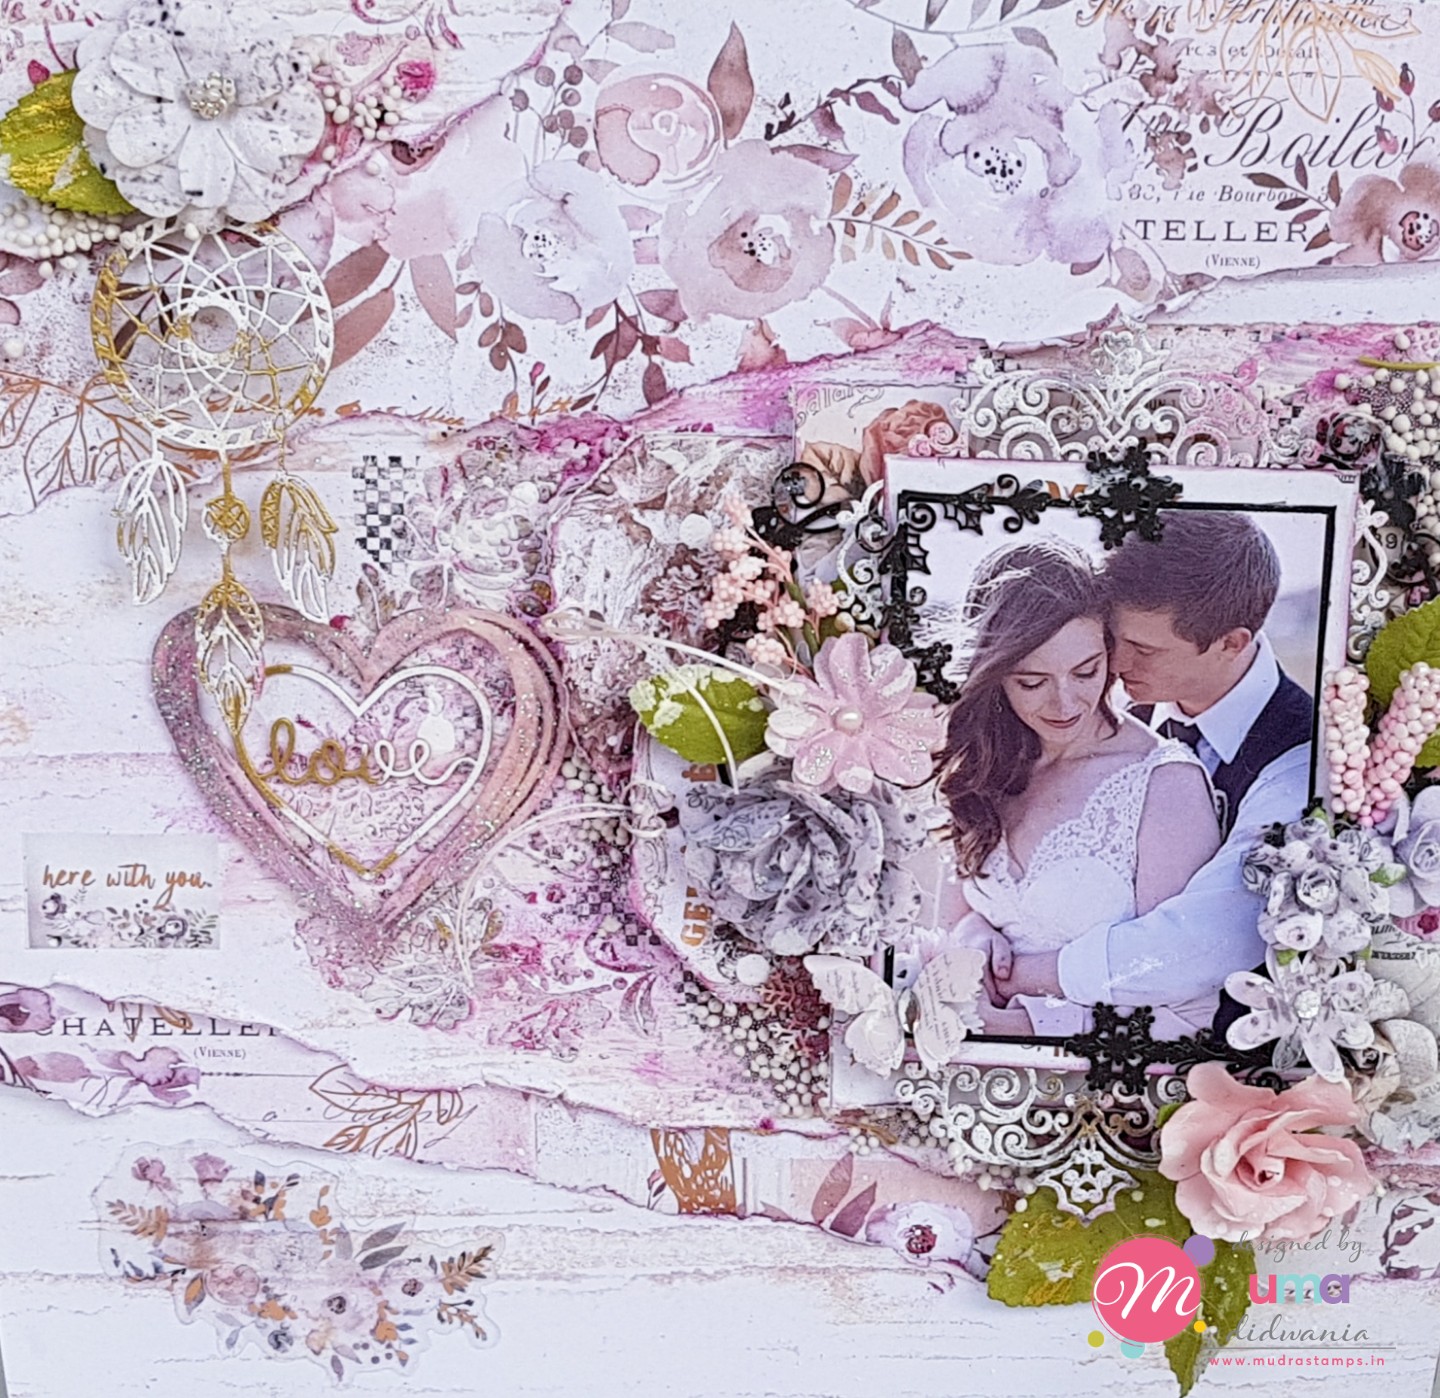
I am here to share you my inspirational post for Mudra Craft Stamp. This time I create a layout using Mudra's gorgeous chipzeb , stamp and stencil.
Here is it...

For step by step instructions and product list check my post on Mudra Craft Stamp Blog.


Hope you like 
Love


Participating in 
Allsorts Challenge Blog: Week 501 Hearts and Flowers 

Splashy Mix Challenge: Challenge #1 Anything Goes 

Dream Valley Challenges: Challenge #193 Anything Goes 


HLS January Mixed Media Challenge: Layers

Wednesday, 5 December 2018

Easel Frame Card

Morning Everyone,

It's Heartfelt wednesday and we back with some new inspiration. Today I created a easel card with photo frame. The unique feature of this card that don't need to stick with any particular photo . You can change photos from the frame according to your mood like you do in photo frame. Isn't it amazing? You can gift a personalised handmade card.


HC PRODUCTS USED:

HCD2-7189 Eyelet Rectangle & Basics Die
HCD2- 7191 Intricate Swrils Frames die 
HCPC-3674 Blazing Poppy Petals Stamp 
HCD1-764 Blazing Poppy Petals Die
HCFB1-467 Leafy Accents Shaping mold 
HCD1-7193 Leafy Accents Die 
HCPC-3835 Leafy Accents Stamp
HCD1-7202 Album Tags and Accents Die 
HCS1-459-3 Assorted Beads Stamens 
HCPC-3843 Special Birthday Sentiments Stamp 
HCDP1-289 Butterfly Dreams Paper Collection 
RACP985 Cactus Flower Archival 
RACP482 Olive Green Archival 
RACP437 Leaf Green Archival

OTHER PRODUCTS : 
Gold Shimmer cardstock ,  Glitter, Flat back pearl, stone sticker, Acetate Sheet, 


VIDEO LINKS:

INSTRUCTIONS: 
Ready easel card measures 5.5”×7.5”
To prepare card base take a white cardstock measures 5.5”× 15”. Score on 7.5” and 11.25”. To prepare mats choose pattern paper from the designer paper collection and cut a piece measures 5.25”×7.25” ,  further cut 2 more pieces of same pattern paper measures 3.5”×5.25”. Mat all 3 pattern paper on another pattern paper which is bigger 1/16”of an inch from all four sides. Layer these mats on the card base. 
To prepare frame take a piece of white cardstock measures 10.5”×7.5”. Score on 5”and 10” from longer side.  Score on 0.5“on other side. Place a die from Eyelet Rectangle & Basics Die on one side and cut to create a frame. Stick a piece of acetate sheet on the frame . Fold it and glue from 2 side to create a pocket. Further cut a pattern paper using same die and mat it on the pocket. Cut a frame from the white cardstock using Intricate Swrils Frames die. Glue this frame on the frame pocket. Glue this n the ready card base as shown in the picture. Keep open side up so you can change photos easily. 
Stamp Blazing Poppy flowers using cactus flower on flower making paper and cut with coordinating die. Paint the flowers using same ink and shape them with small groove tool. Stamp leafy accents leaves using olive green ink and cut with coordinating die. Paint leaves using leaf green archival and shape them in shaping mold. Arrange flowers and leaves on the frame as shown in the picture.
Cut a piece of pattern paper and gold shimmer cardstock using  Album Tags & Accents die . Stamp sentiment on the gold shimmer card stock using cactus flower ink.. mat the both tags on the card using dimensional tape as shown in the picture.  For finished look apply glitter on flowers using adhesive that dries clear. Glue some flat back pearl and stone sticker on the frame.

Hope you like it...
Thanks for stopping by 
Hugs

Wednesday, 28 November 2018

Friendship Book Card

Morning Everyone....

Welcome to my blog , Today I have created a card with a friendship book. I create these flowers using handmade ezee peeze paper.


PRODUCT USED:
Magenta Hue Archival
Sap Green Archival
Olive Green Archival
Jet Black Archival
HCPC-3828 Garden's Edge Coneflower Stamp
HCPC-3835 Leafy Accents Cling Stamp
HCPC-3533 Sun Kissed Fleur Stamp
HCD1-734 Sun kissed Fleur Die
HCD1-7182 Garden’s Edge Coneflower Die
HCPC-3844 For My Friends Sentiments Stamp
HCD1-7193 Leafy Accents Die
HCFB1-467 3D Leafy Accents Shaping Mold
HCD17211 Decorative Pocket Accents Die 
HCD1-7213 Elegant Pocket Accents Die

OTHER PRODUCTS:
White cardstock , handmade flower making paper , zig markers , glitter , white satin cord , silver embossing powder , Versamark

VIDEO LINKS:

INSTRUCTIONS:
Ready side fold card measures 7” x 7”
To prepare mat choose a pattern paper from the designer paper collection and cut a piece measuring 6.5” x 6.5” . Layer it on the white cardstock which is 1/16” of an inch bigger. Choose another pattern paper from the same designer paper collection and cut a piece measuring 6.75” x 6.75” . Layer it on the ready card base. Cut a border from the white card stock and glue it on the right side of the card. Cut a piece of white cardstock to create a book using book template. Also cut a pattern paper in book template which is 1/16” of an inch smaller than the first one. Cut one more book template from the white card stock and stamp sentiment using versamark on it. Heat embossed the sentiment using silver embossing powder.
Layer all the book template and stick some baby pink stones as shown in the picture. Cut two decorate borders from the baby pink card stock and apply glitter on it. Glue the book and borders on the card base as shown in the picture. Stamp some sun kissed flowers using magenta hue ink on the handmade paper and cut with coordinating dies. Paint the flowers with the same ink and shape using groove tool.
Stamp leaves from leafy accents stamp on the flower making paper using olive green ink and cut with coordinating die . Paint the leaves using leaf green archival and shape them using shaping mold. Stamp some leaves from the garden's edge coneflower stamp using black archival on water color paper. Cut with coordinating die and color using zig markers. Arrange flowers and leaves with some extra stamens as shown in the picture.
Tie bows using white satin cord and glue them. Fir the finished looked apply glitter on the flowers using glue that dries clear.


Hope you enjoy....
Hugs...
Uma

Saturday, 17 November 2018

Be Brave Card/Get Inspired

Hello Crafty Peeps!!!

Good morning........

Today I have created a mixed media card with vellum flowers using "Get Inspired" products. Check their entire range here.


To create cardbase take Bright white cardstock measures 7"×10".  Score on 5" and crease using bone folder . Choose a pattern paper and cut a piece measuring 4.75"×6.75". Mat it on another pattern paper which is 1/16" of an inch bigger on all sides.  Glue a piece of lace. and add a piece of pattern paper using dimensional tape as shown in the picture.  Glue one more piece of pattern paper using dimensional tape. Glue 2 pieces of lace flowers.
Take some chipzeb and color them using black archival and glue them using hot melted glue.

Stamp daisyflower on vellum paper using versamark and heat embossed it with white embossing powder . Cut with coordinating die and slightly shape them.  Add brown glass fragments in the center of the flowers using glossy accents. Glue the flowers on the cardbase.

Take a butterfly die cut and paint it with Emerald Shimmer and After dark metalic paints. Apply clear dry glue and add clear glass fragments. Glue butterfly as shown in the picture.

Apply clear dry glue and add Sea blue velvet touch flock powder for extra effect.  This is an amazing product wich can give soft and velvet effect to your project.I have also applied clear glass fragments and fairy dust.

Take 2 sentiment strip from the Tim Holt'ssmall talk and layer it on the white cardstock . Glue it on the card using dimensional tape as shown in the picture.  for the finished look glue 2 art pebbles.


Hope you like it....
Thanks for stopping by......
Hugs
Uma

Friday, 2 November 2018

Stamping Cards

Hello Crafty Folks!!
A very good morning to all of u...
 Today I kave some simple stamping cards with distress oxide background. Have a look...


Hope you like it..
Regards
Uma 

Thursday, 1 November 2018

Gift bag

Hello friends!
Good morning...
Here is another altered gift bag using mixed media techniques . 
To create this bag, first I applied clear gesso on bag. Apply texture paste using Mudra's stencil. Mist it with Lindy's color.  Glue some handmade flowers and chipzeb. Stamp sentiment on the black chipboard using versamark and heat embossed it with white embossing powder.  Glue sentiment using dimensional tape as shown in the picture. 


Thanks for stopping by
Hugs
Uma

Participating in:-

A Bit More Time To Craft

Monday, 29 October 2018

Altered Gift bag 3

Hello friends!
Good morning...
Today I have a altered gift bag to share with you. This is perfect for gifting bottles. 
First I applied clear gesso on the bag and apply texture paste using Mudra's stencil. After drying mist it with color bloom spray. Glue some piece of pattern paper from my stash. Again mist with color.  Glue cheese cloth and arrange handmade flowers and chipzeb.  Stamp the sentiment on the black chipboard using versamark and heat embossed it with white embossing powder.  Glue the sentiment using dimensional tape as shown in the picture.  For the finished look apply art stones using soft matt gel. 


Hope you like it....
Hugs
Uma

Best Guy Ever

Hello Everyone! Good morning.... Today is Heartfelt Wednesday and I am back with another card using "Majestic Frames" die....